Set your brands look & feel

Learn how to set your brands look & feel which your customers will see across any journey/product you configure on Groov

Branding - Global CMS

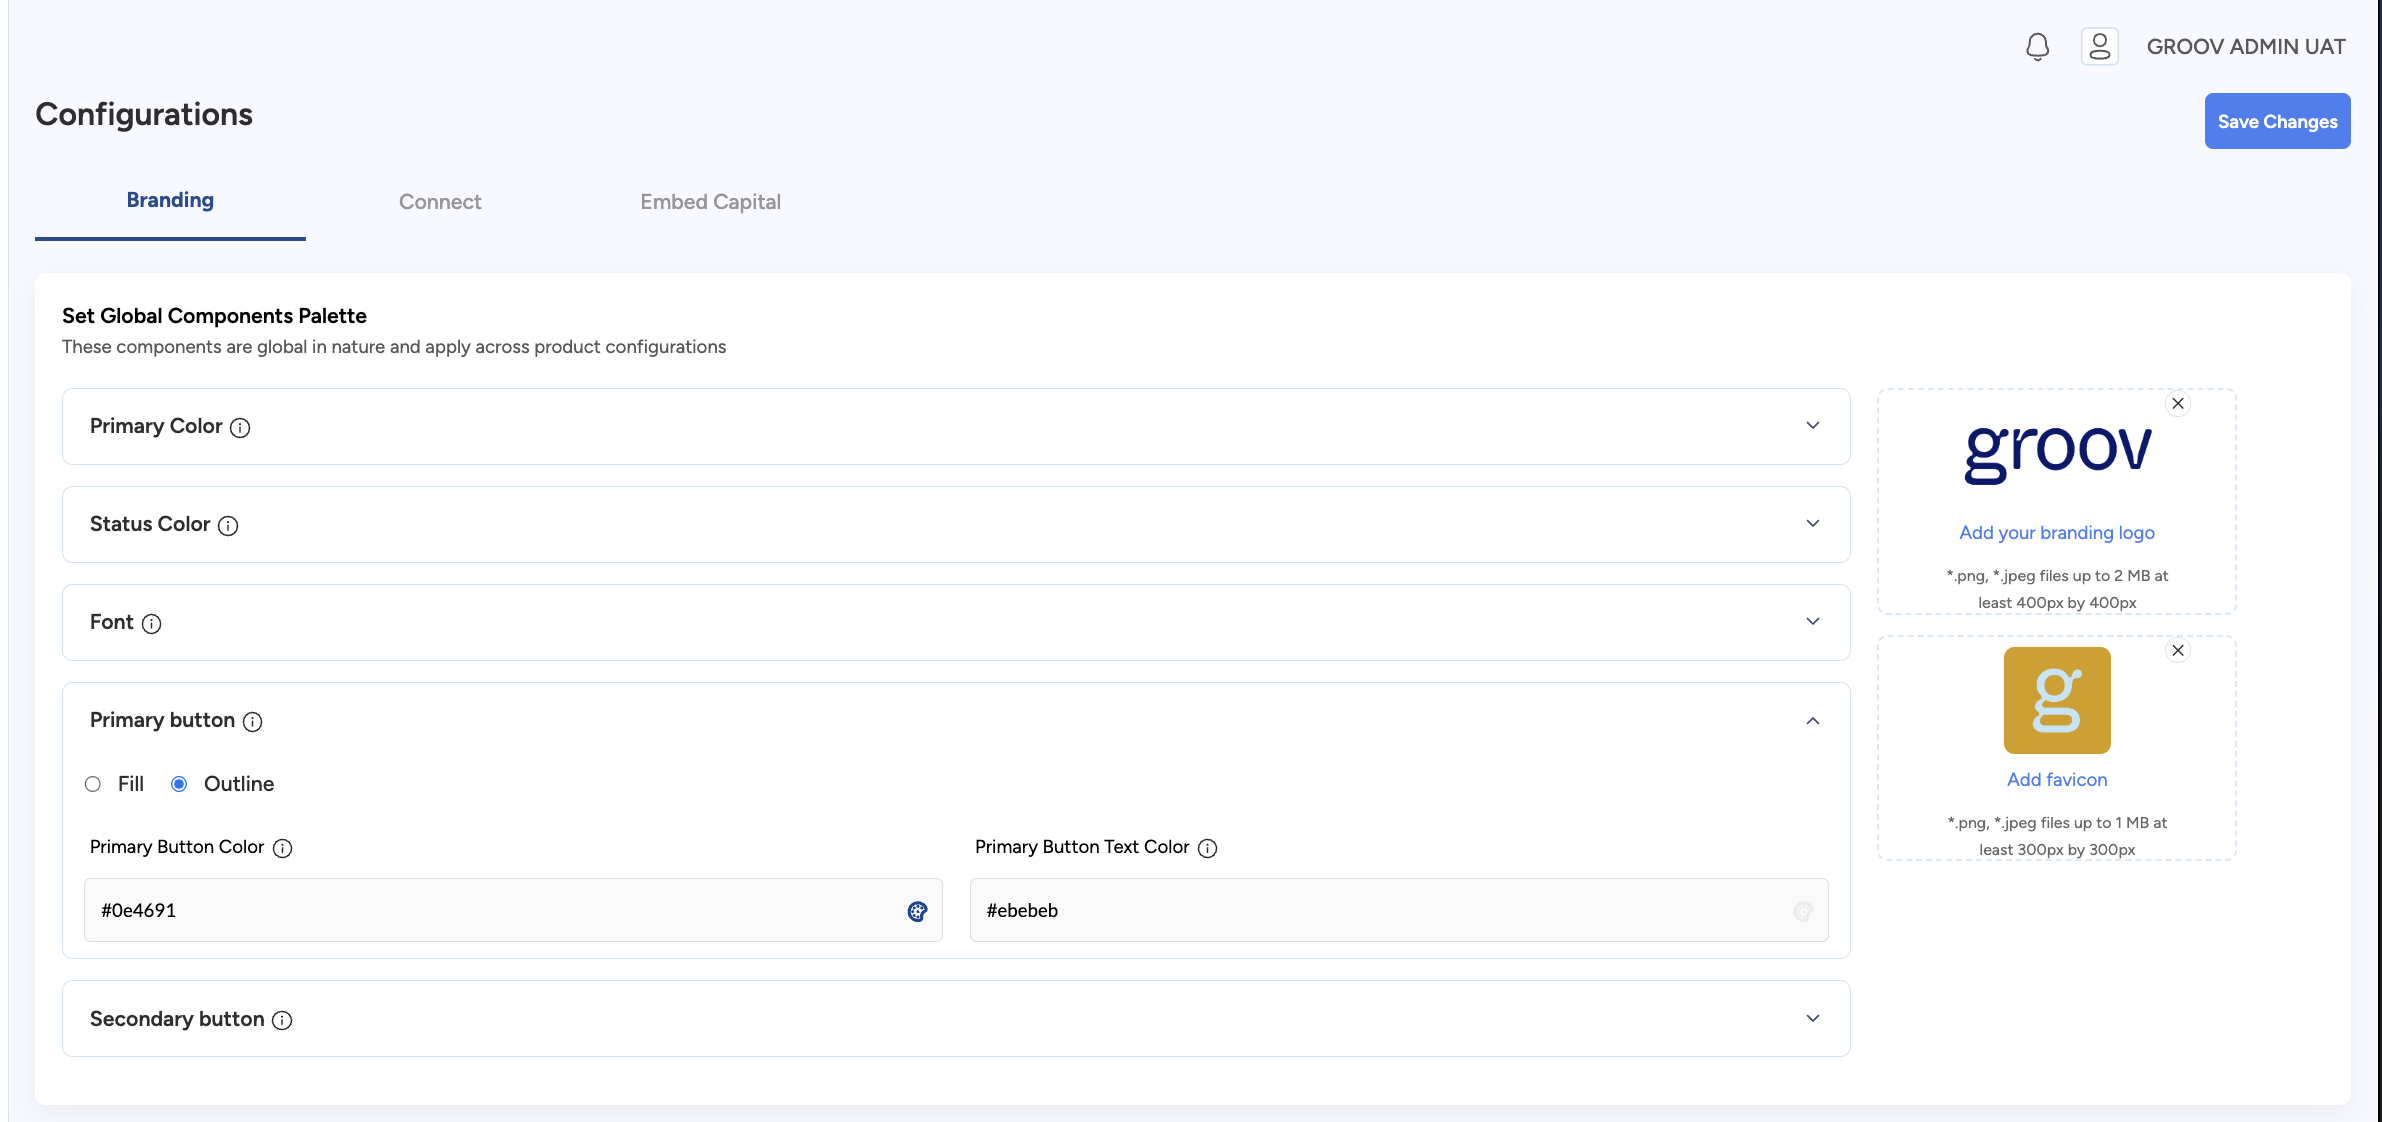
Irrespective of the products/services you have enabled via Groov, the Global Brand settings layout allows you to configure your organisations assets at one go without having to change it per product/service.

Appearance

Logos must be in JPG or PNG format, and recommended size being 128px by 128px.

Logo – Used across all journeys.
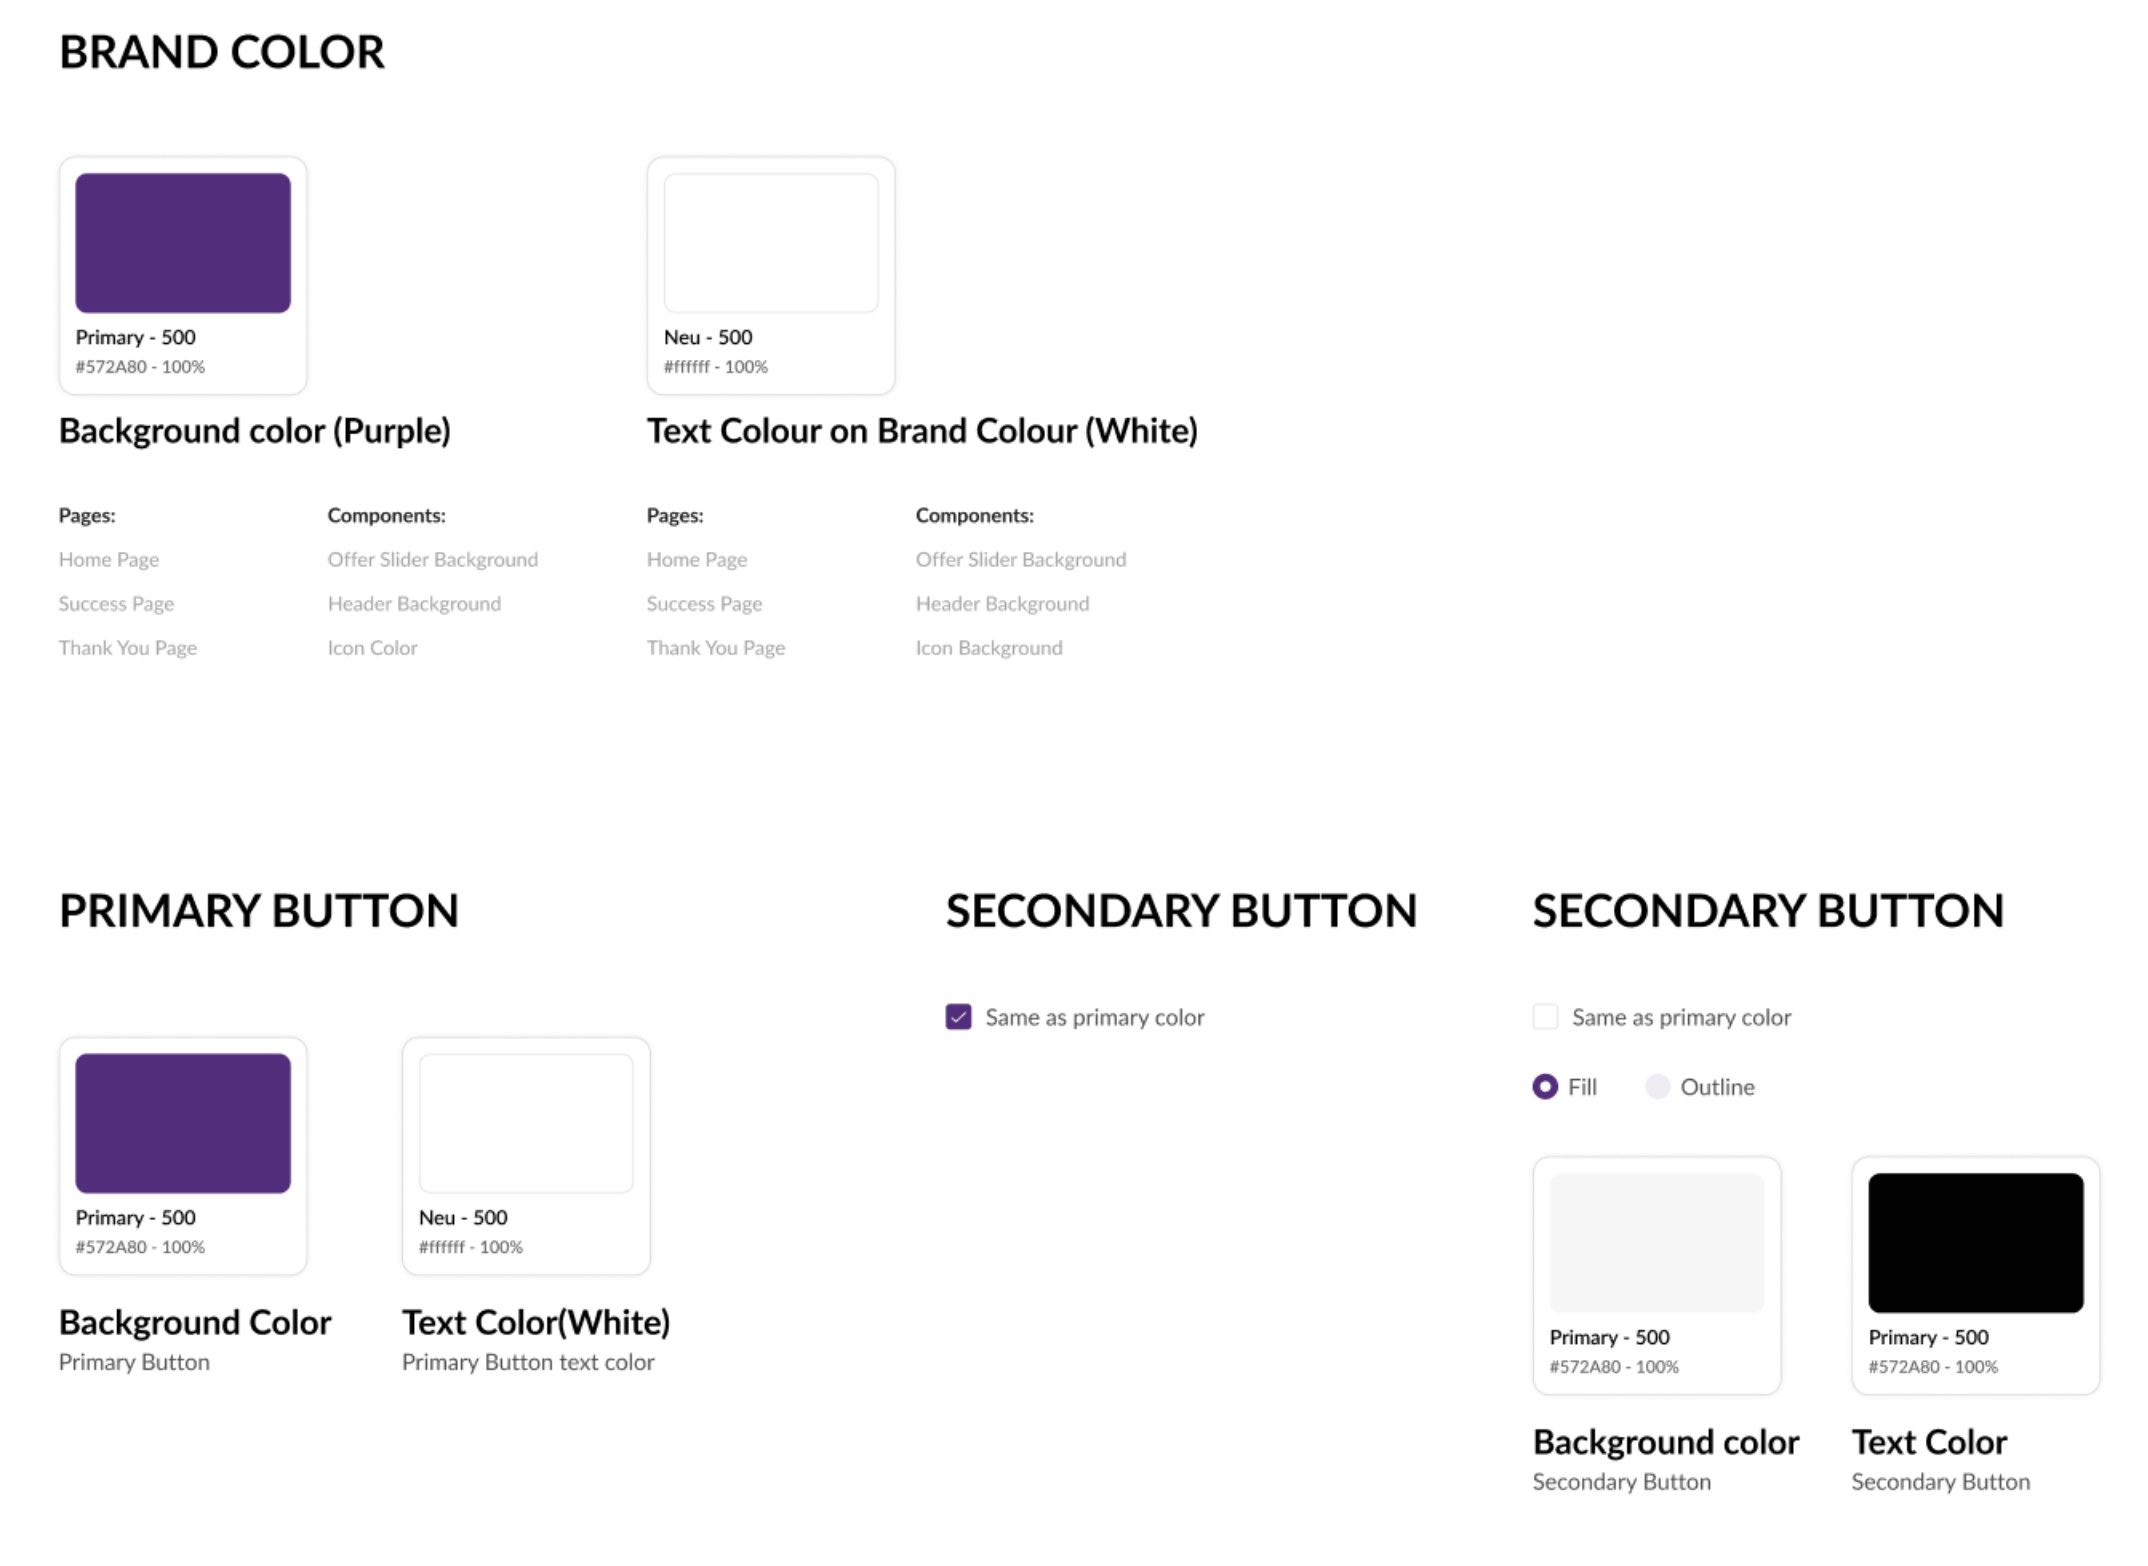
Brand colour – Used across the journeys

Embedded Insights/Connect - Brand/Copy configuration

In addition to the global appearance settings as above, Groov provides you a much more finer design control to customise product/service specific journeys.

In order to allow your customers/merchants to provide authorisation & authentication for us to access their payment/external partner account information, your customers have to go through our CONNECT module. Groov enables you to configure journey specific look and feel (override if required global configs) as well as to set custom/bespoke narratives to guide your customers throughout the connect journey as if you were designing this in one of your internal app.

A brief description of the module is as follows:

Authorise & Authenticate

The Connect service handles the authorisation/authentication setup and manages the OAuth/other connection and flows. It requires authorisation from the customer sharing their data to establish a connection to the their external account data source, before data can be processed. You have the following options for the user experience your merchants will follow to authorise/authenticate their account data via Connect.

In order for you to setup the details, you can use the 'Edit' option in product connections page (Connect setup) or navigate via Settings and Edit option. The former option will look something similar to the following:

What needs to be setup

  • Customer Journey Narrative

Please use this section to provide bespoke/custom narratives that will appear in your white-labeled consent CONNECT flow to explain to your customer what data you plan to collect and what value you will provide via your offerings. There are information fields to provide narratives for both an unhappy retry and a deny flow if the customer ever happens to land on one. 

As a default we will provide you with some placeholder narrative that you can use as examples to amend and provide your version of the narratives. Or if you are happy with the placeholders, you can leave them as is.


Contextually,

The value that you will provide in field "Redirect URL" which is mandatory will be used by CONNECT journey to redirect the customer/merchant flow back to you once they complete their account linking process via Groov using our CONNECT consent journey. This redirect URL could be your 'Thank You/Next Steps' page on your website OR it could be a handshake step in your customer engagement journey from where you initially triggered Groov's CONNECT journey. 

The copy text in the field "Hosted Page" in the section above will appear in the landing page of the CONNECT journey that your customer/merchant will see when they click the CONNECT consent URL. 

The copy text in the field "Data access consent copy" in the section above will appear in the second step of the CONNECT journey when your customer/merchant selects a data source provider/payment/commerce partner and clicks on the CTA button labelled "Next"

The copy text in the field "Deny consent confirmation copy" in the section above will appear in the CONNECT journey when your customer/merchant decides to abandon the account linking process.

The copy text in the field "Retry connect consent flow copy" in the section above will appear in the CONNECT journey when your customer/merchant fails to successfully connect to their data provider account, this could be for various reasons like incorrect credentials or the data provider server downtime, etc. 

  • Appearance/Brand

You can use this section to customise and override any of the Global settings you have configured with us, this will default to the global configurations. You will be able to override your brand logo (change to a light vs dark theme), colour themes to give the connect HOSTED flow pages your platform applications look and feel. There is a Preview section that lets you interactively test your brand settings as you configure.


Once the changes are made, remember to Save the changes. 

You can always revisit these sections on your Portal account and make as many changes as you want till you get the narratives drafted to your satisfaction. You can view your changes in the actual test consent flow when you setup a test connection as explained in the next section

How the CONNECT journey to a customer looks like:

This is an example using sample setup on test environment. The use case below is a multi-connect setup where a customer/merchant has connected a SumUp account and is choosing to connect a Stripe account eventually from the list of available Partner data sources to link to. 


Embedded Capital - Brand/Copy configuration

Most of the configurations to Lending embedded flows will follow the configuration as already setup via the global appearance settings as above