Manage Connect Links
Learn how to enable your merchants to go through Groov's Connect journey (white labeled with your brand) and connect their external provider accounts
Create CONNECT link & run a test
This section guides you through the process of creating Connect Links using Groov dashboard.
We have enabled this ability from the Portal dashboard to test the white labeled CONNECT flow as soon as you get your Portal account without having to wait for for your commerce platform Portal to even be activated to Live state. We will use our sandbox (TEST mode) setup to try our first Connect flow with Groov, the process explained below will be similar to creating Links from the LIVE mode once you are ready to generate Live links. Here's the process to follow whilst in TEST toggle mode:
- On the dashboard account, look for 'Connect Link' option in the left hand tool bar under Connections section. Click on 'Create a Connect Link' button as shown below (navigate to Connections -> Connect Links toolbar option on the left panel toolbar list)

2. The following screen will be presented. It will ask you to enter an 'Institution Account Id'. In a TEST mode, please provide a unique merchant account identifier (a test identifier you want to associate with your test connection customer record). In a Live mode, you will normally provide a Live merchant identifier from your in-house CRM/ERP/Web application that identifies that customer of yours in your business process.
We use this account identifier known to you to link to Groov's identifier for the same merchant
Once you provide the account identifier, the Copy button will get enabled for you to click and copy the CONNECT hosted dynamic link. Copy the Link, it gets copied to your clipboard which you can use to test a sample customer connect flow right away.

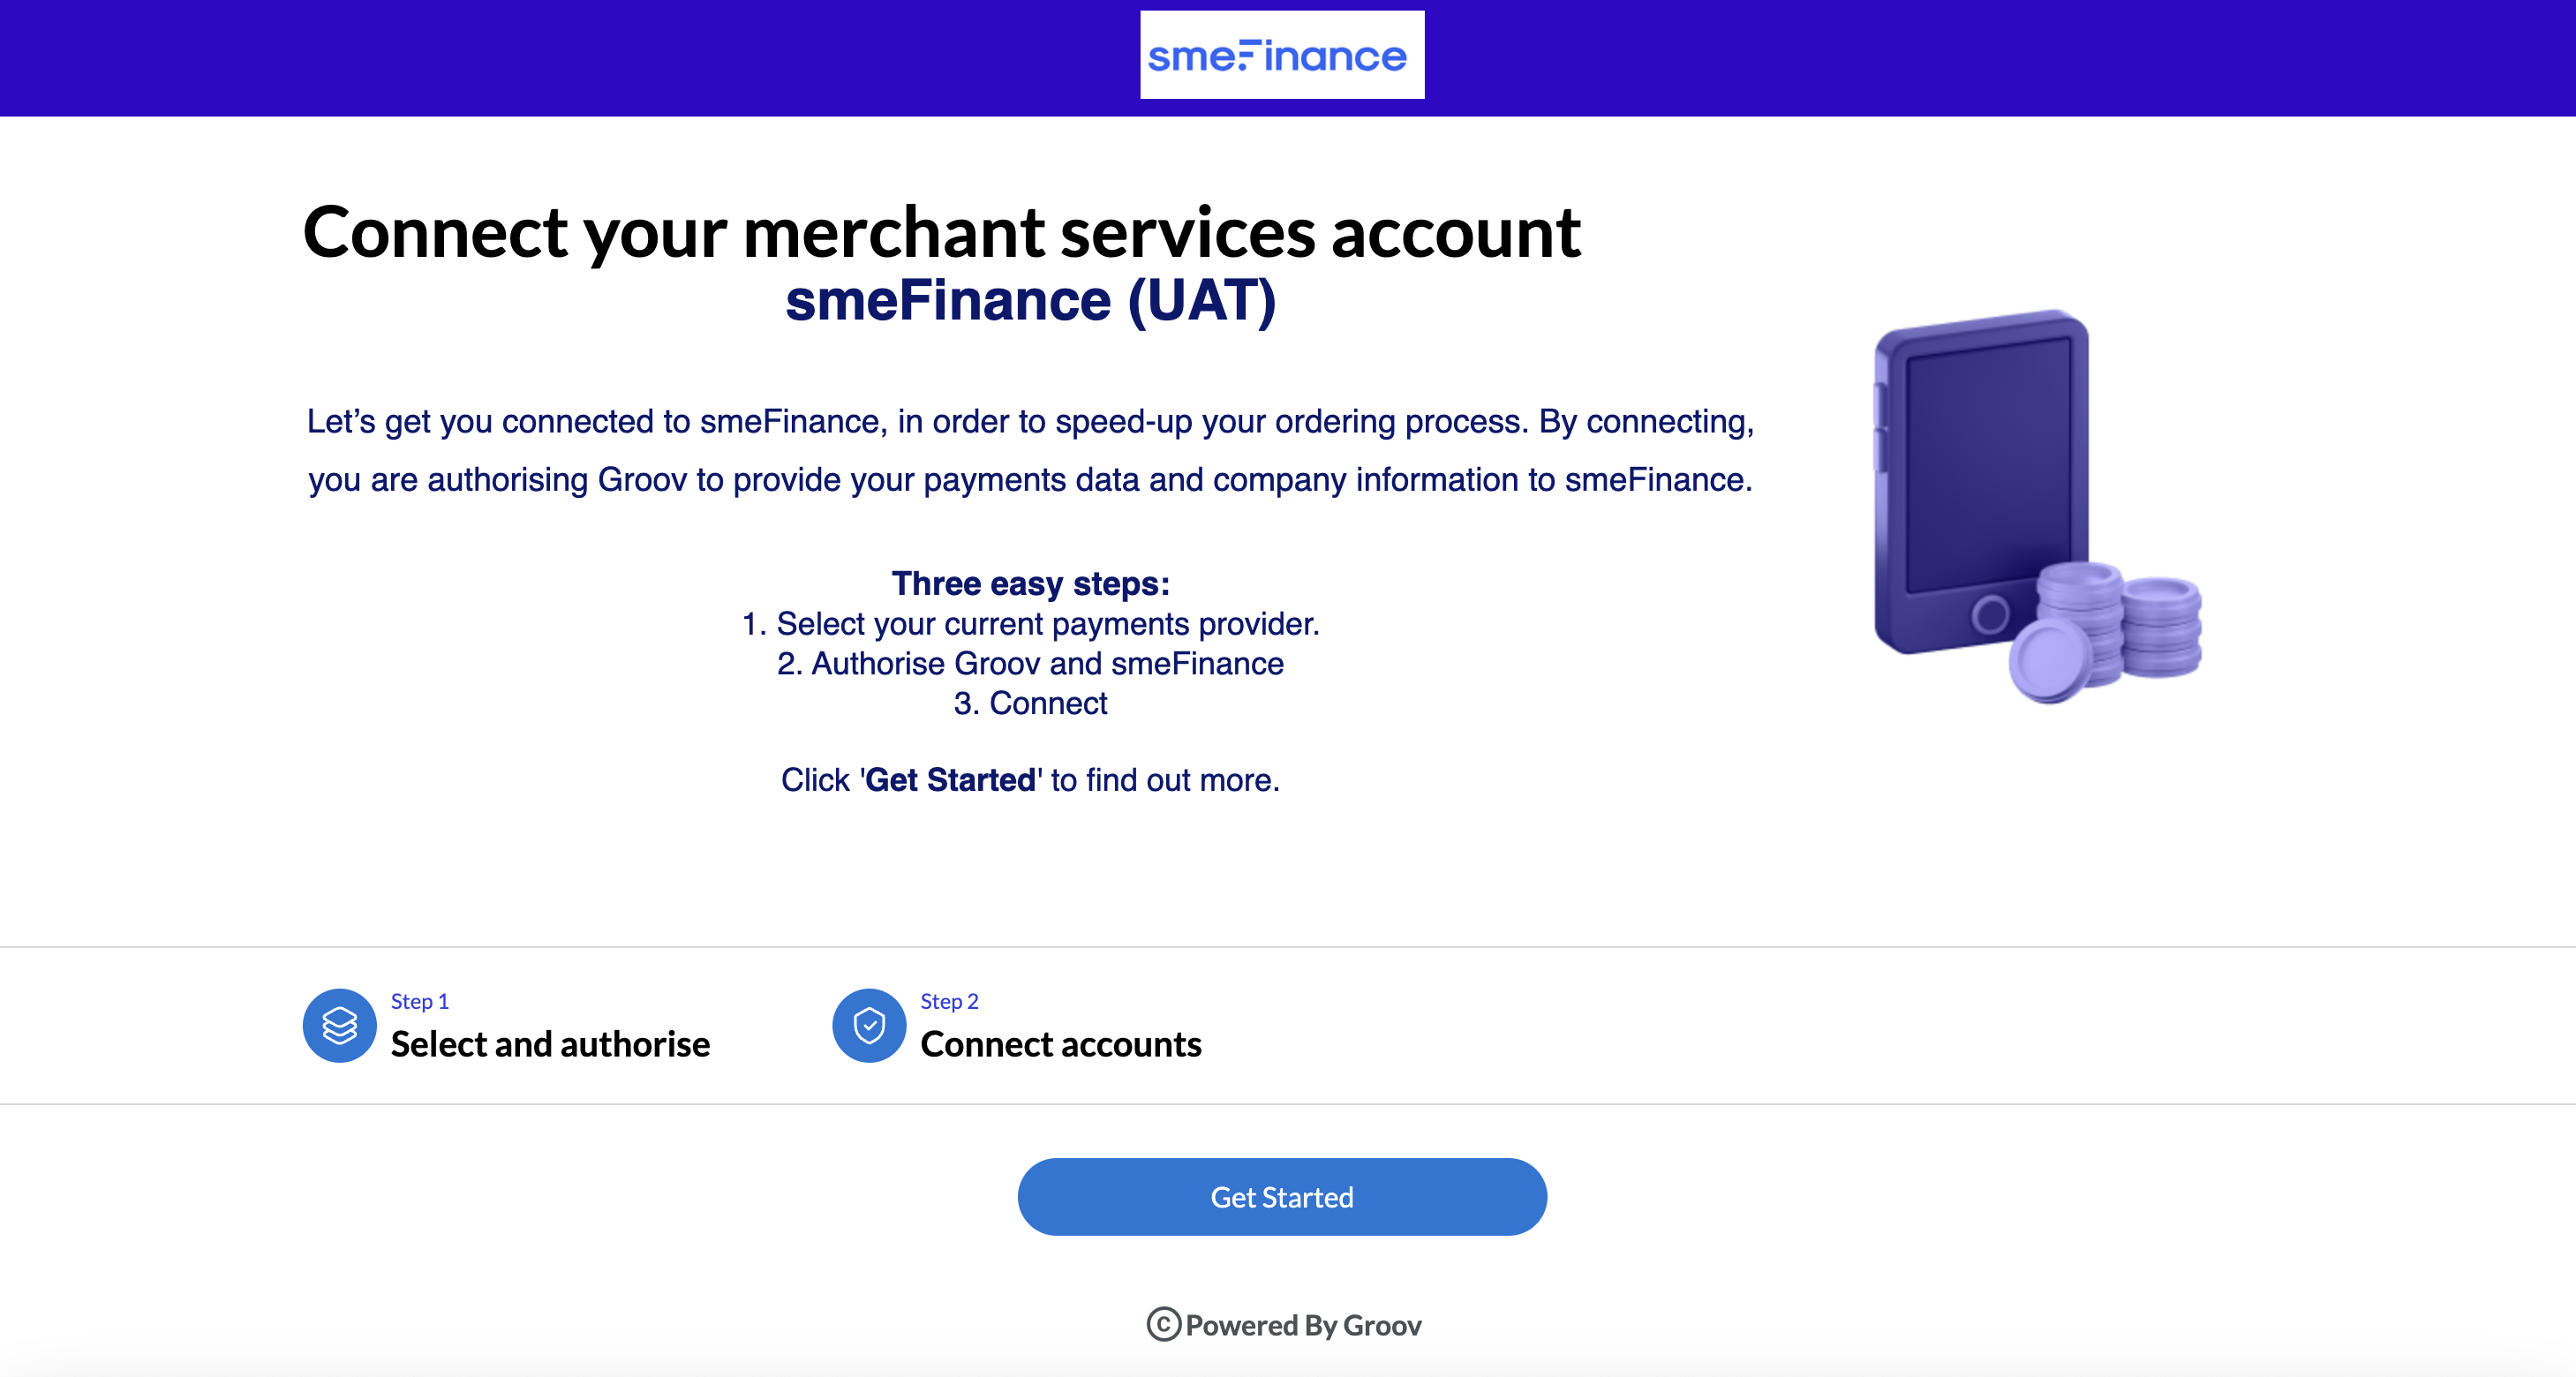
- Open a new web browser window, and paste the CONNECT link/URL from the previous step in the browser address bar. You will be presented with the landing hosted page all white-labeled with your appearance/brand and showing your consent narratives that you setup in the set your brands look & feel. The page will look as follows (the one below is a design copy only). In your test version ensure your consent narratives are appearing correctly else note down copy changes you would want to go back later and save.

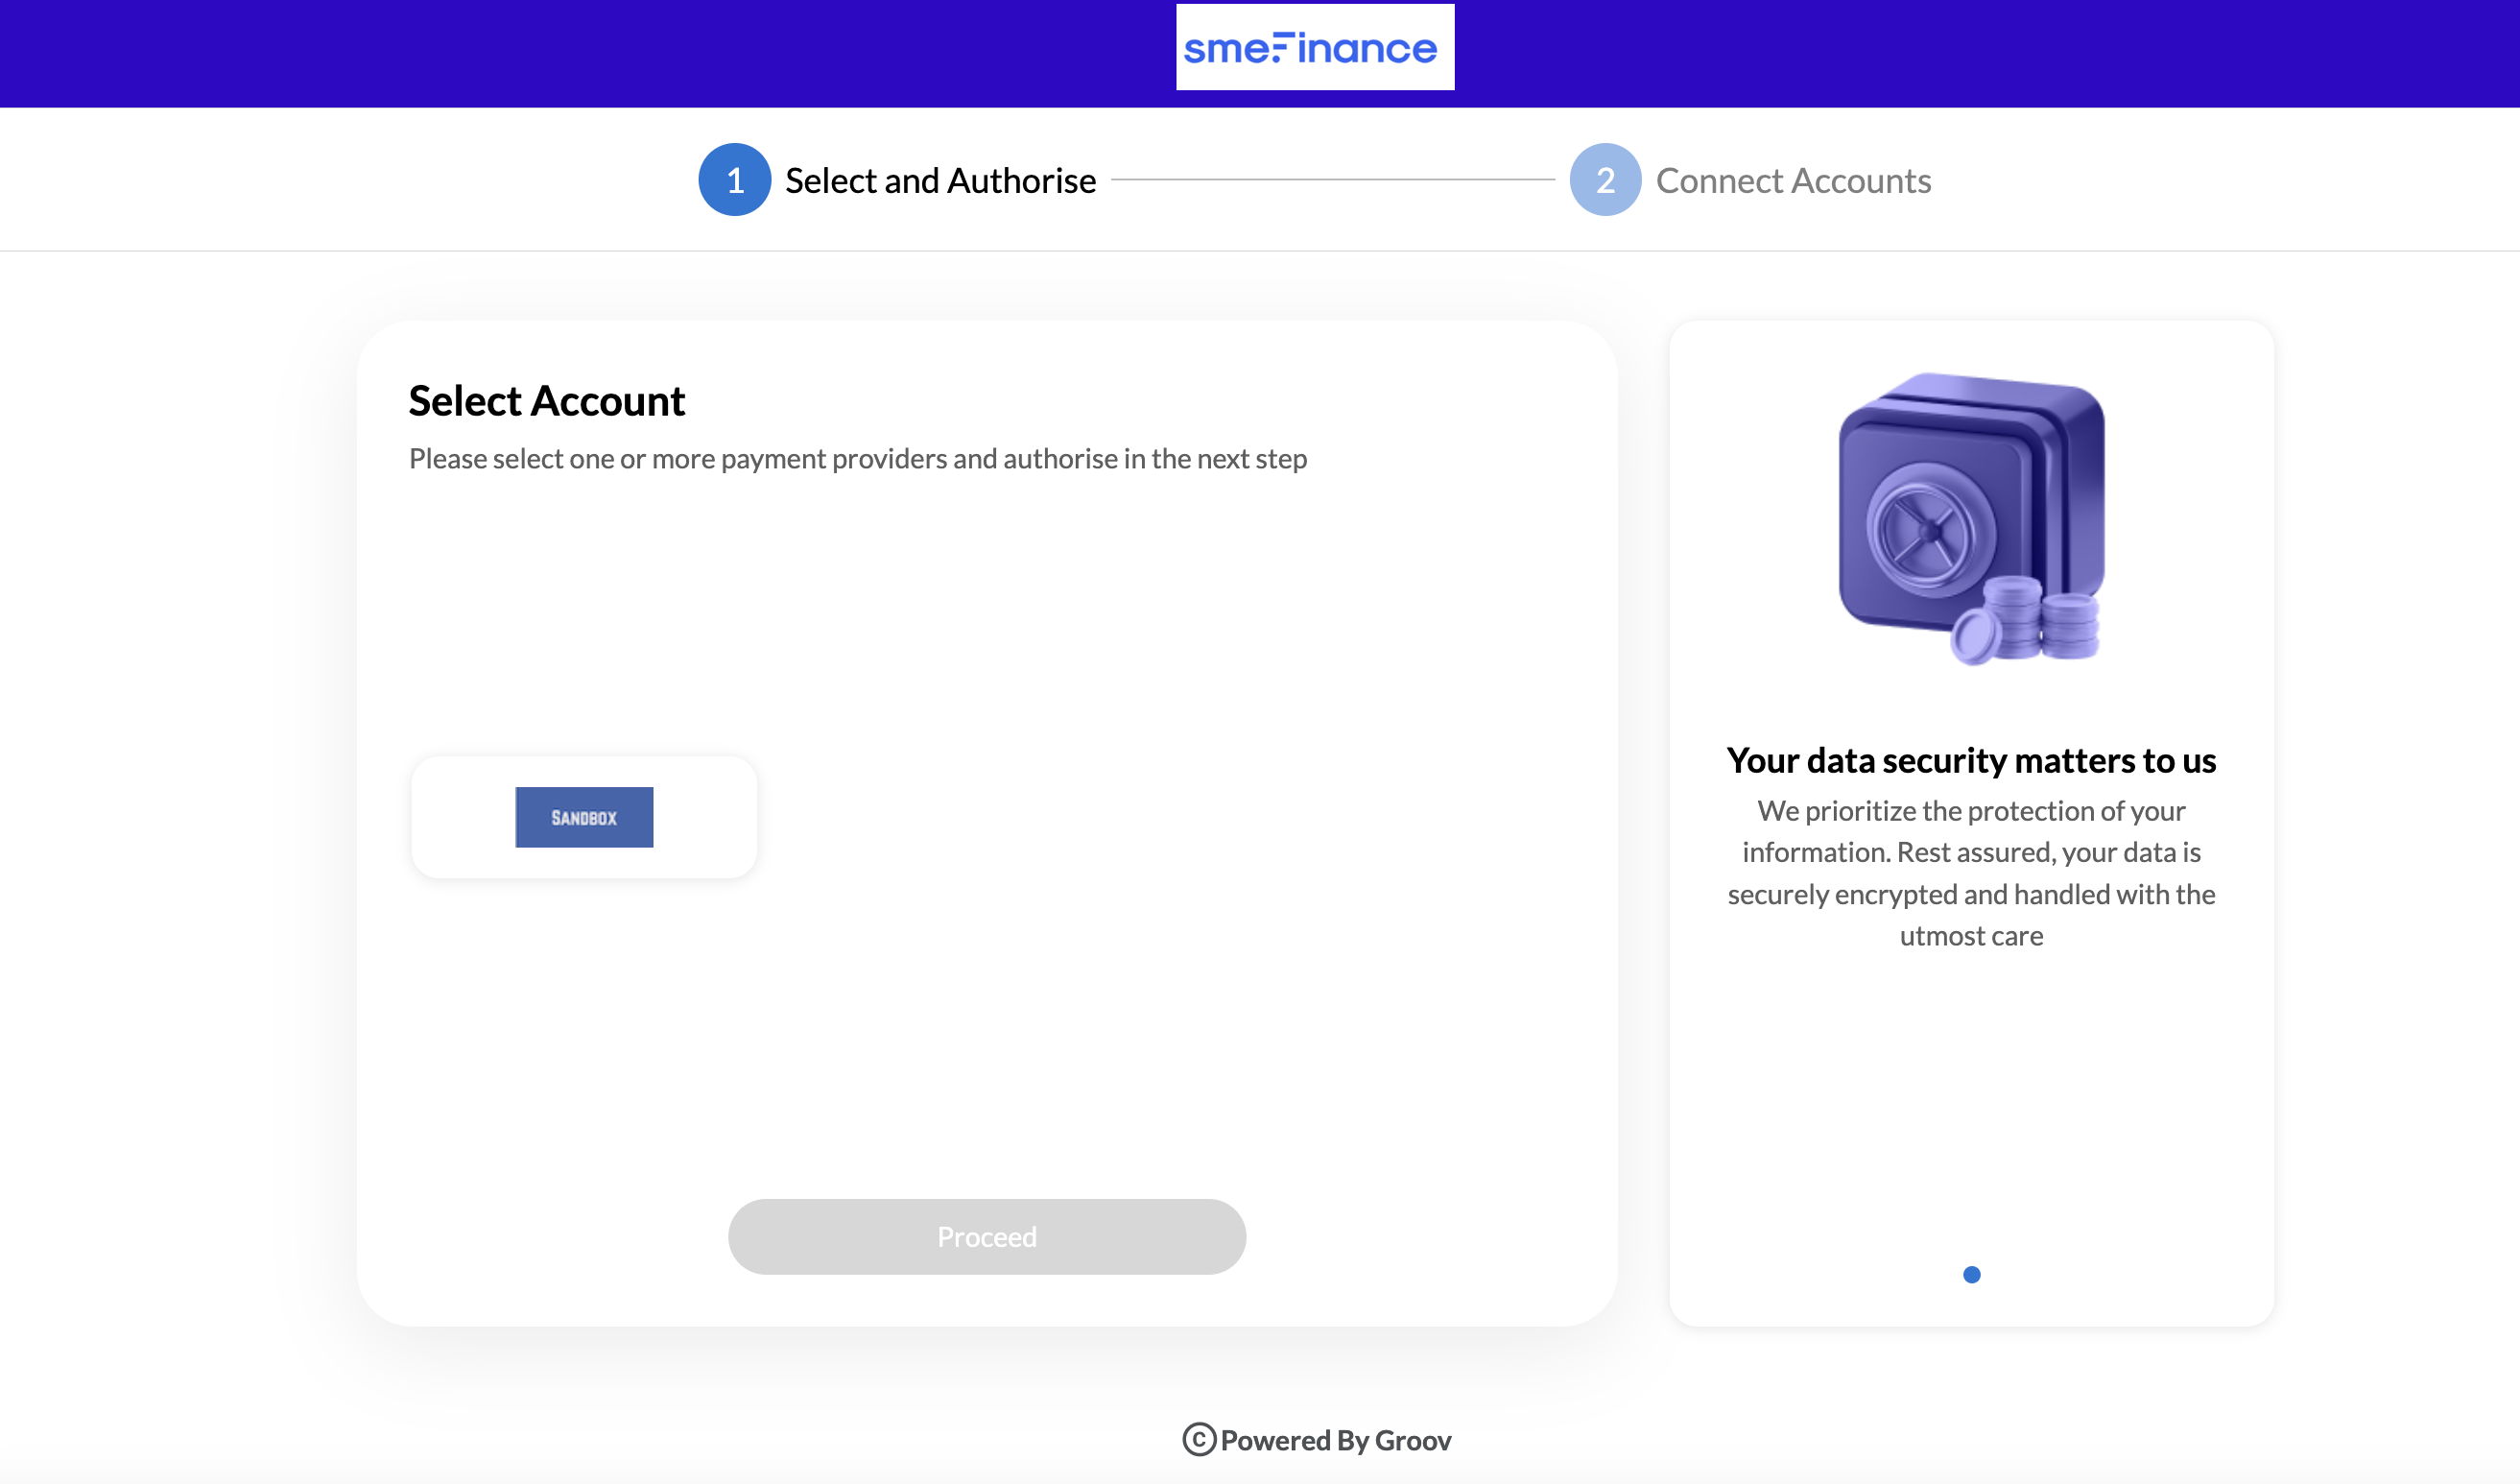
- As this is test mode, you will see 'sandbox' partner available to connect. You are now going through the flow as one of your SME customer. Select the available partner and proceed to next step.

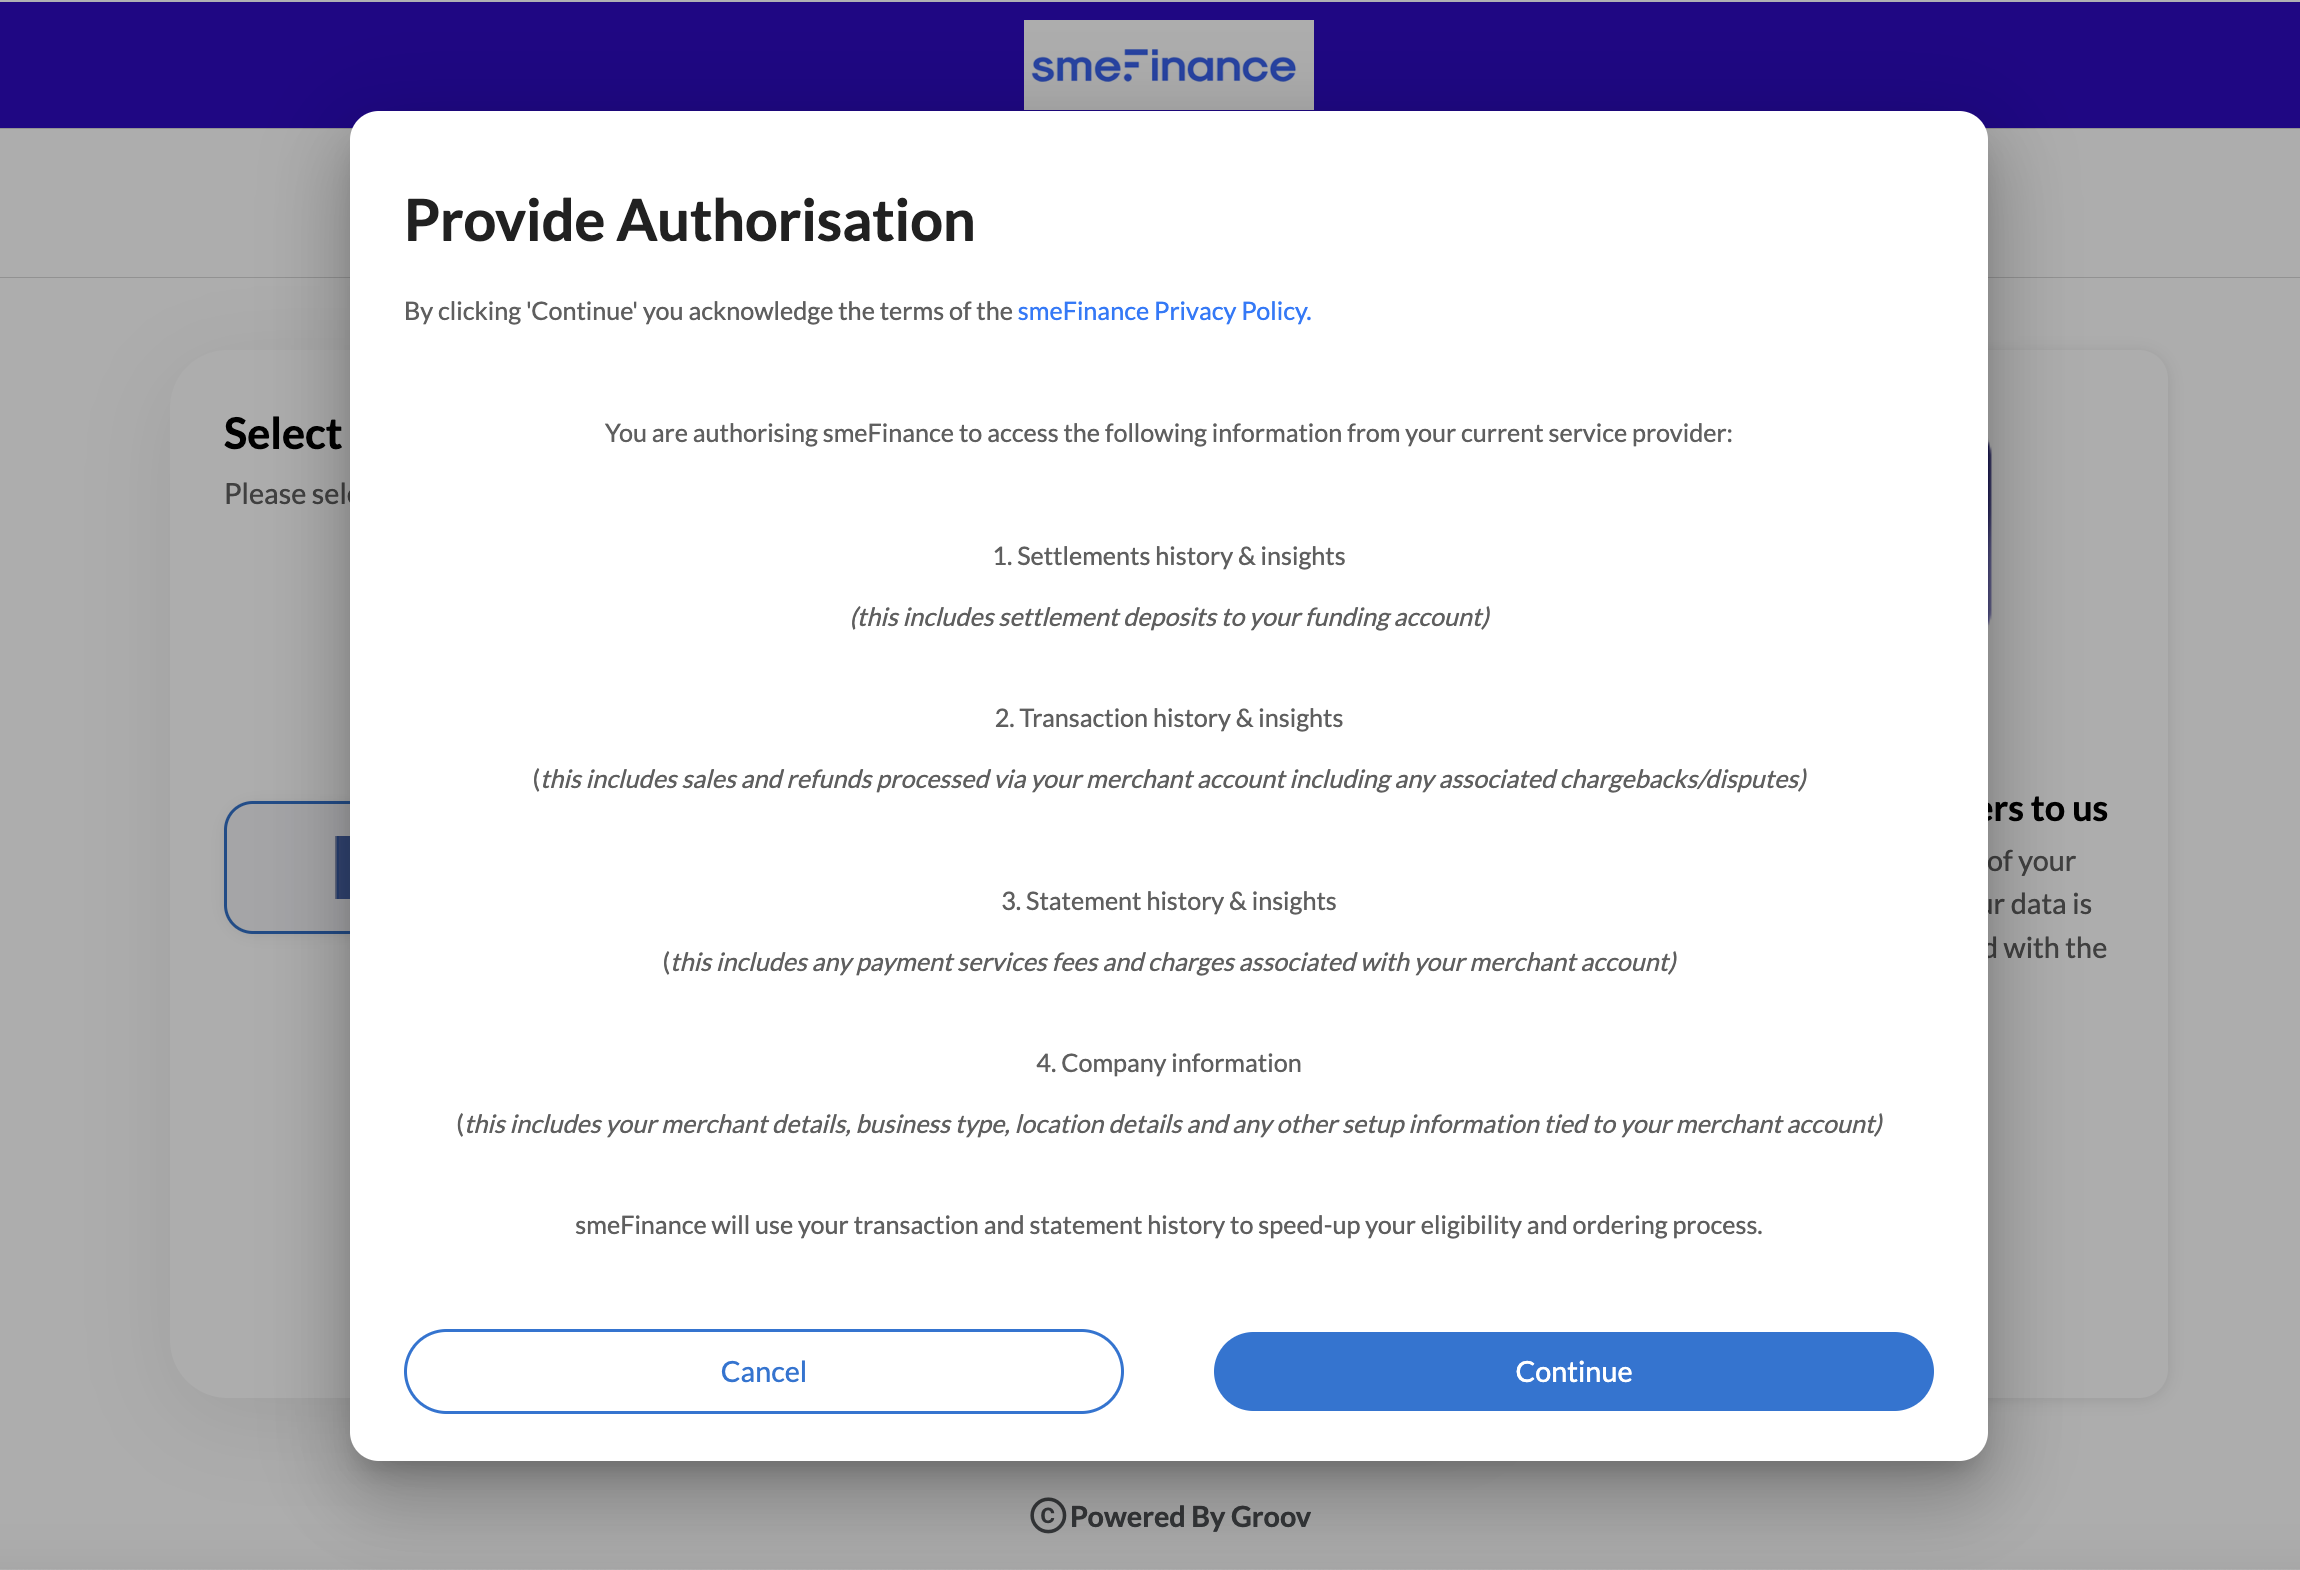
- Your SME customer will be shown the following Groov consent confirmation page which explains that Groov will show as the 3rd party having access to their external accounts provider data and details how we manage/process the data on behalf of your customer.

- Progressing ahead, your customer will be presented with the partner connection logic page. As this is a test mode, you will be shown the sandbox logic page that we have curated to enable you test our product and access test data. The user credentials are preset, you will just need to select one of the many test customer types and follow the steps till you see a connection successful page. You will be then redirected to any redirect URI you setup as part of the previous step configs or you will be taken to our default URI.


Create Live Connect Link
Once you are ready with Live account enabled on the dashboard, you will use the steps 1 & 2 detailed in the previous section to create named Connect Links i.e to create Links you want to send to named merchant/customer from your CRM/application or an outbound reach.
Create Live Static Connect Link
There will be instances where you would want to run a mass outbound campaign to a segment list of your merchants using your Marketing/CRM application. Relying on a 1.1 Connect Link creation will be time consuming and wouldnt work for such a use case.
In such a case, Groov provides you the ability to generate a one-off static link using the 'Generate Static Connect Link' CTA button from the Connect Link dashboard toolbar option. A snapshot below shows how it looks.

As this is a static one-off Link, you will provide Groov with a static reference instead of a specific merchant reference in the Institution Account id field of step 2 as detailed in the previous section . Rest of the steps will be similar to as described in 1 and 2 as above.
Once the link is available, you can copy the link and provide it as a CTA in your outbound campaign template in your CRM/Marketing application.
Manage Connect Link
You and your colleagues will be able to see all the Connect Links generated across your commerce platform as follows under Connections - Connect Links leftmost tool bar section of the Groov Portal dashboard:
- The All Connect Links tab will show all the Connect Links generated by anyone in your team who has access to your account on Groov. The list will show the user who has generated the link, the date on which the link was created and will provide an option to view + copy the link as many time as required
The option to copy Connect Links from the list provides you the flexibility to refer to the Links as many times as possible as part of your campaign interaction with the merchant or the campaign list.
- The My Connect Link tab will show only the connect Links generated by you (i.e a named user on the Groov Portal account for your platform).
- The Static Connect Links tab will show only the static connect links generated by you (i.e a named user on the Groov Portal account for your platform).
Updated about 1 year ago
